Blogging, Jekyll, GitHub pages
Outcome. Have your main website hosted at <username>.github.io in one GitHub directory. Have your blog hosted at <username>.github.io/blog in another GitHub directory.
Prelude. Hello world! I’m a first year PhD student at Stanford. I decided to make a blog documenting my thoughts throughout my graduate studies.
I’ve been meaning to set this blog up for a while now. The honest reason why I didn’t set it up earlier is because figuring out how to have two repositories (one for my main website and another for my blog) hosted at rosewang2008.github.io and rosewang2008.github.io/blog took way longer than expected – an embarrassing two hours! That is why my first blog post is on how I set up my website and blog.
For people interested in the source code for my website and blog, take a look at this repo and this repo.
Website setup. I really like Jon Barron’s website design. Luckily, he has his website open-sourced, making it really easy for others to set up a similar site. I forked his site, and made my own modifications. The code for my site can be found here.
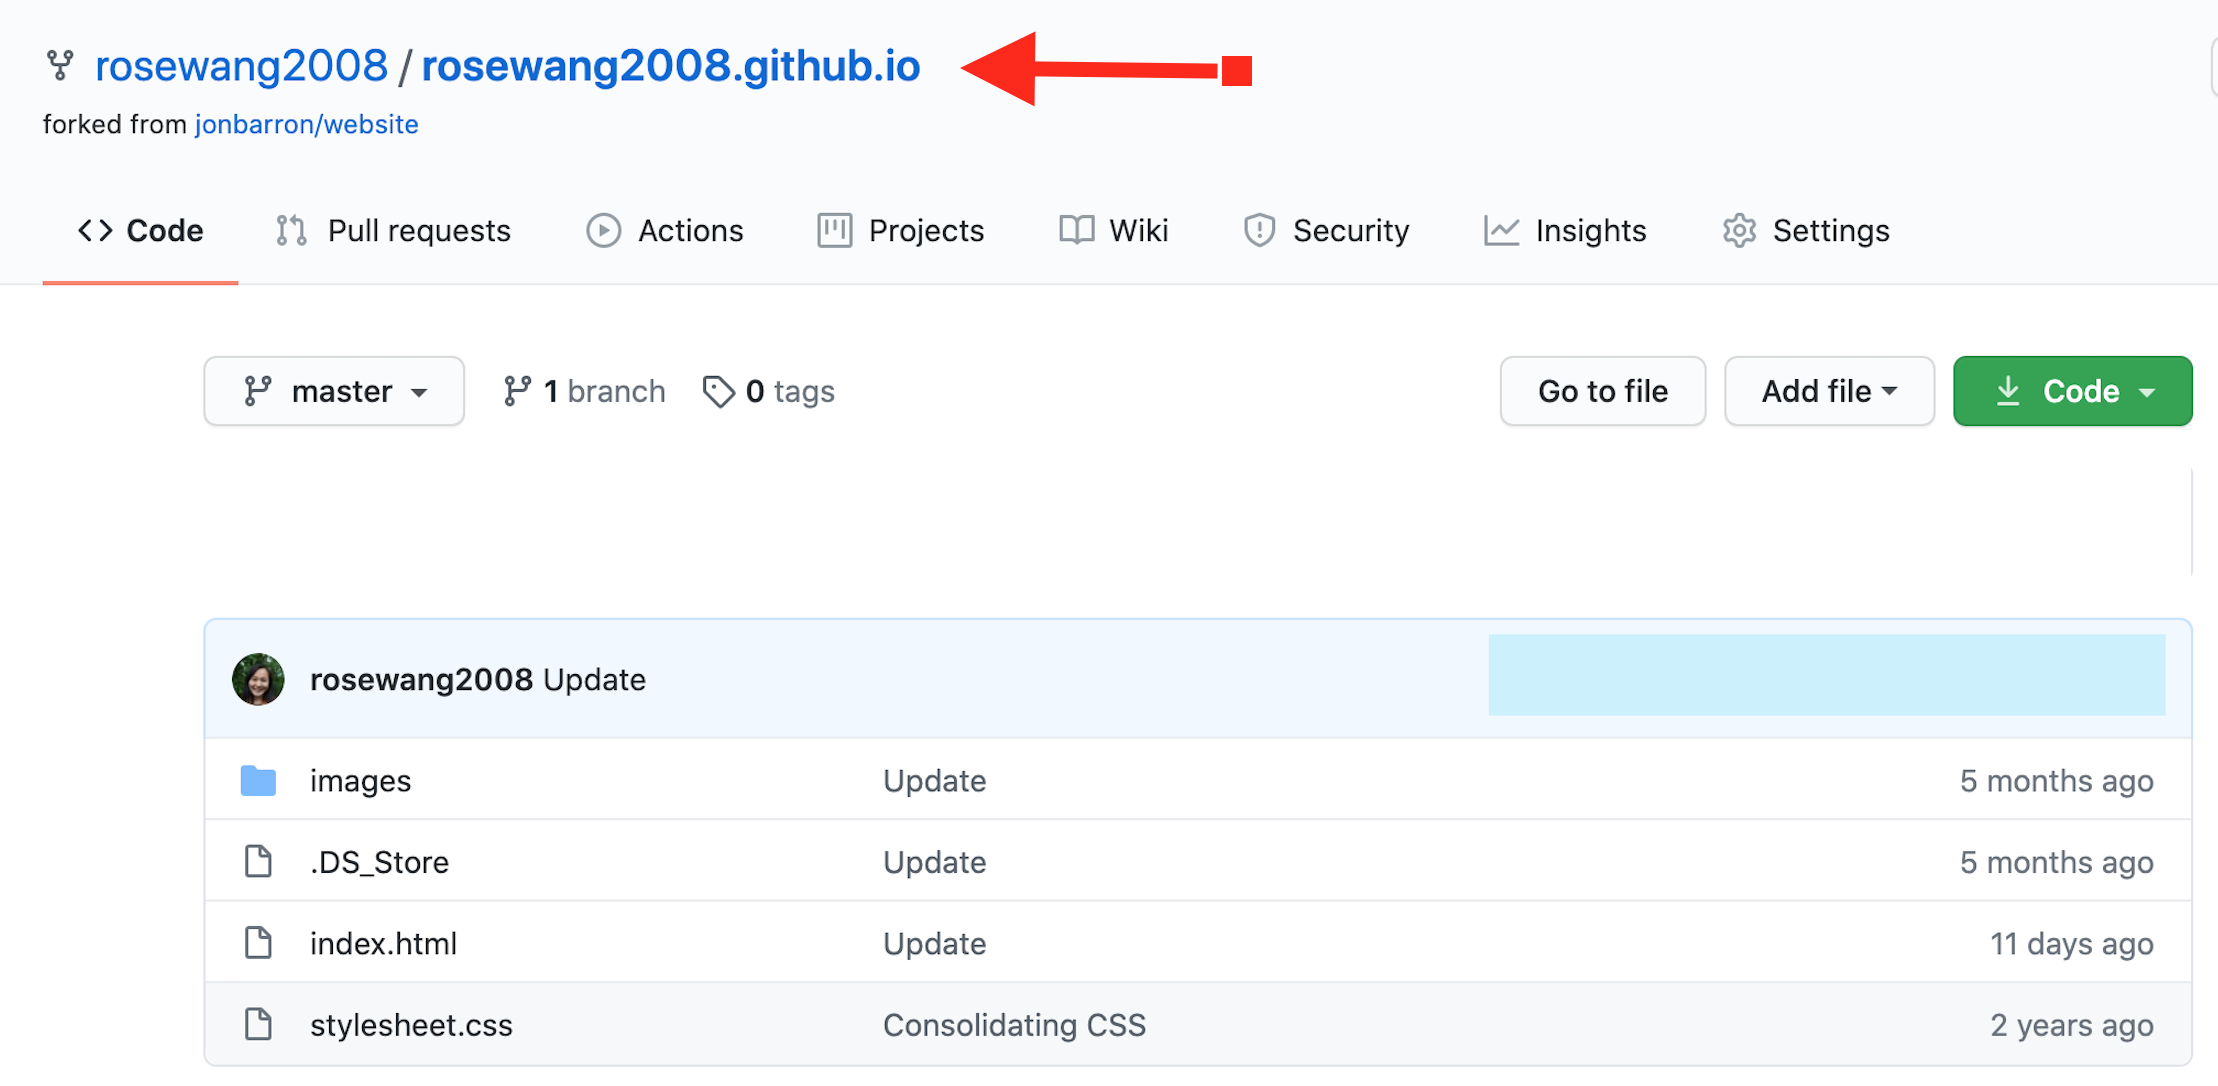
- Make a public repository that’s titled
<username>.github.io, where<username>is your GitHub username. My website github repository is named rosewang2008.github.io becauserosewang2008is my GitHub username.
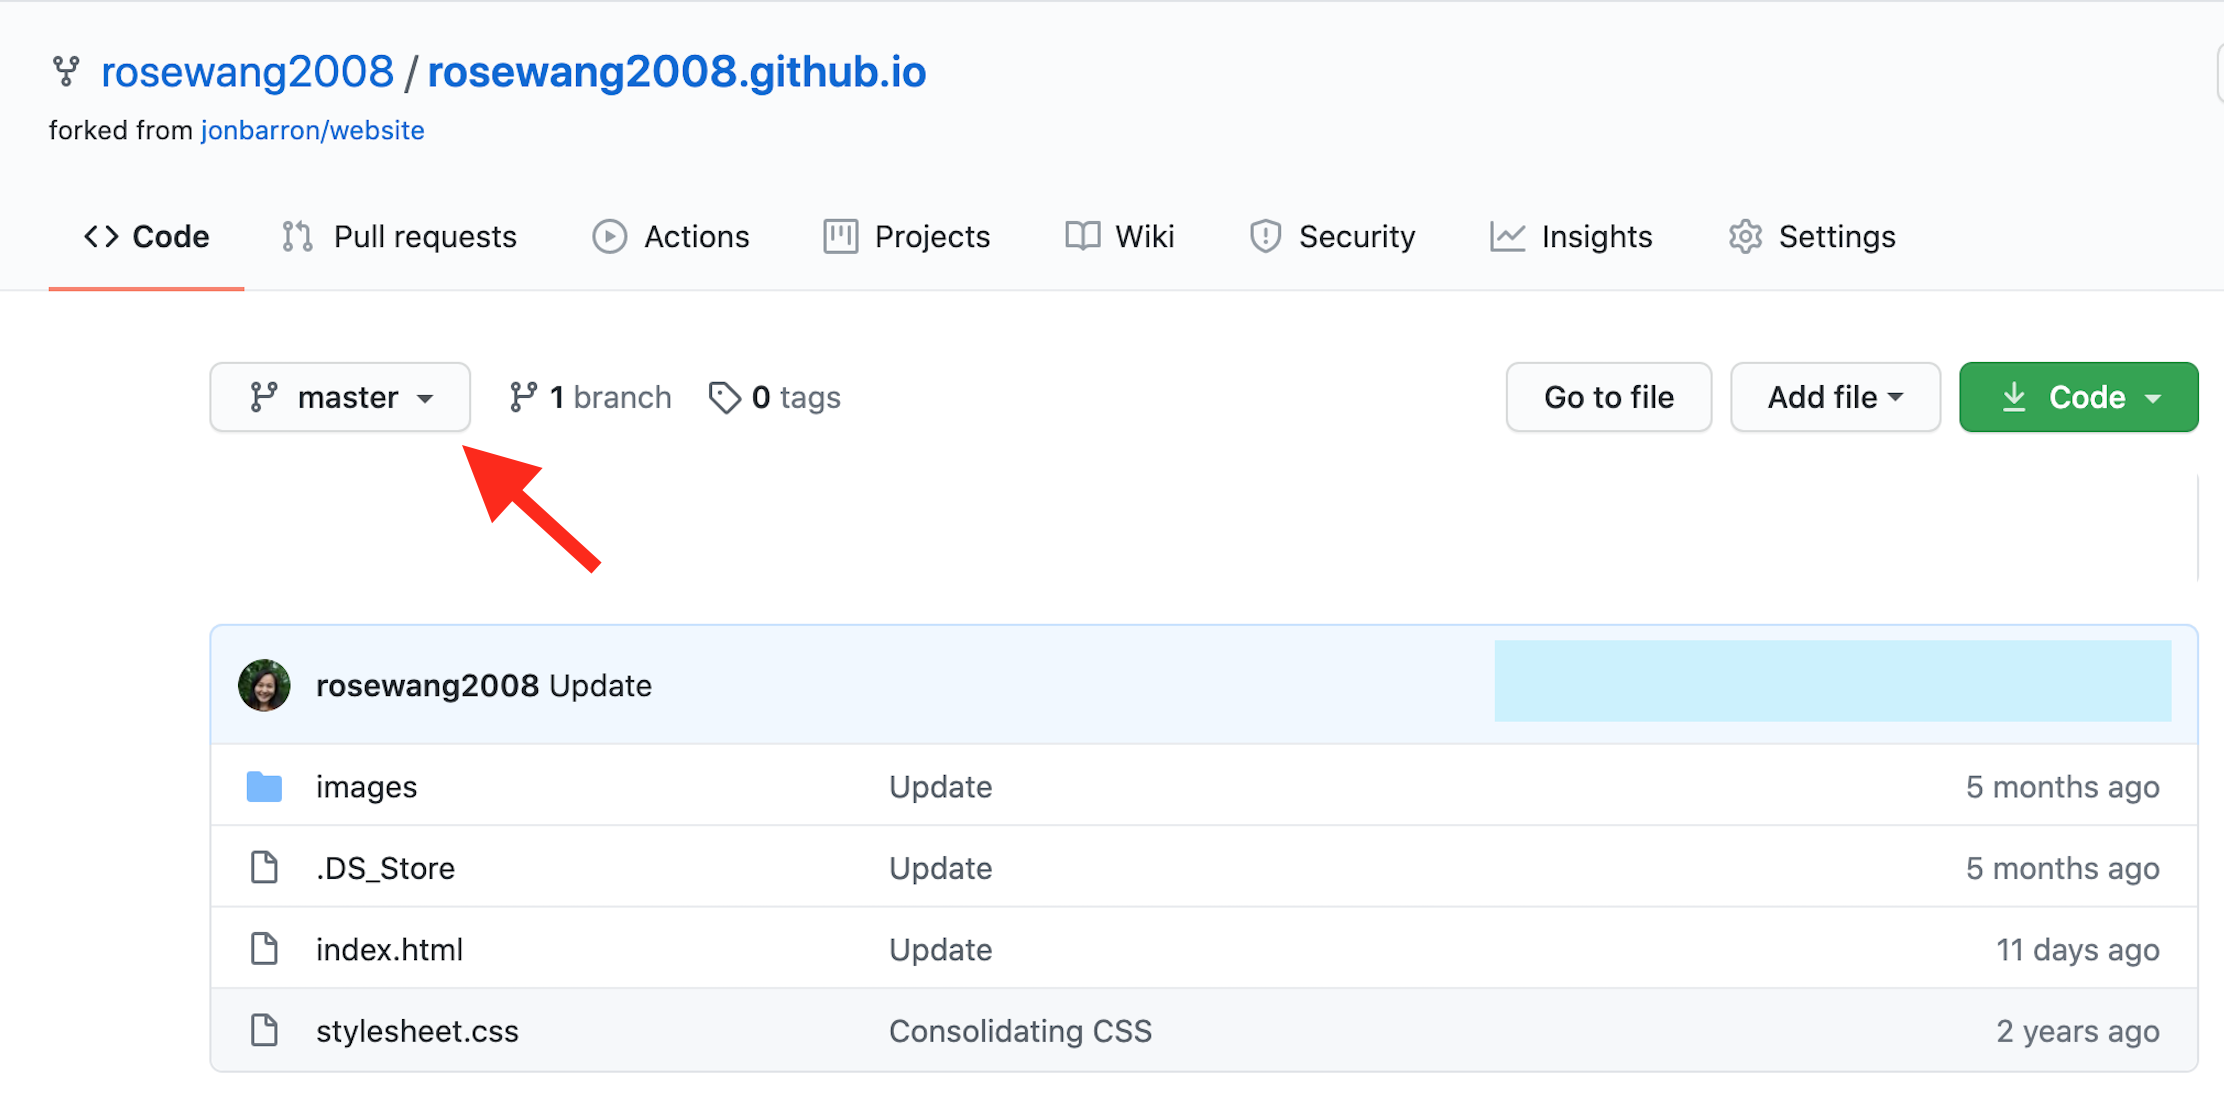
- Put your website code in this repository, master branch.
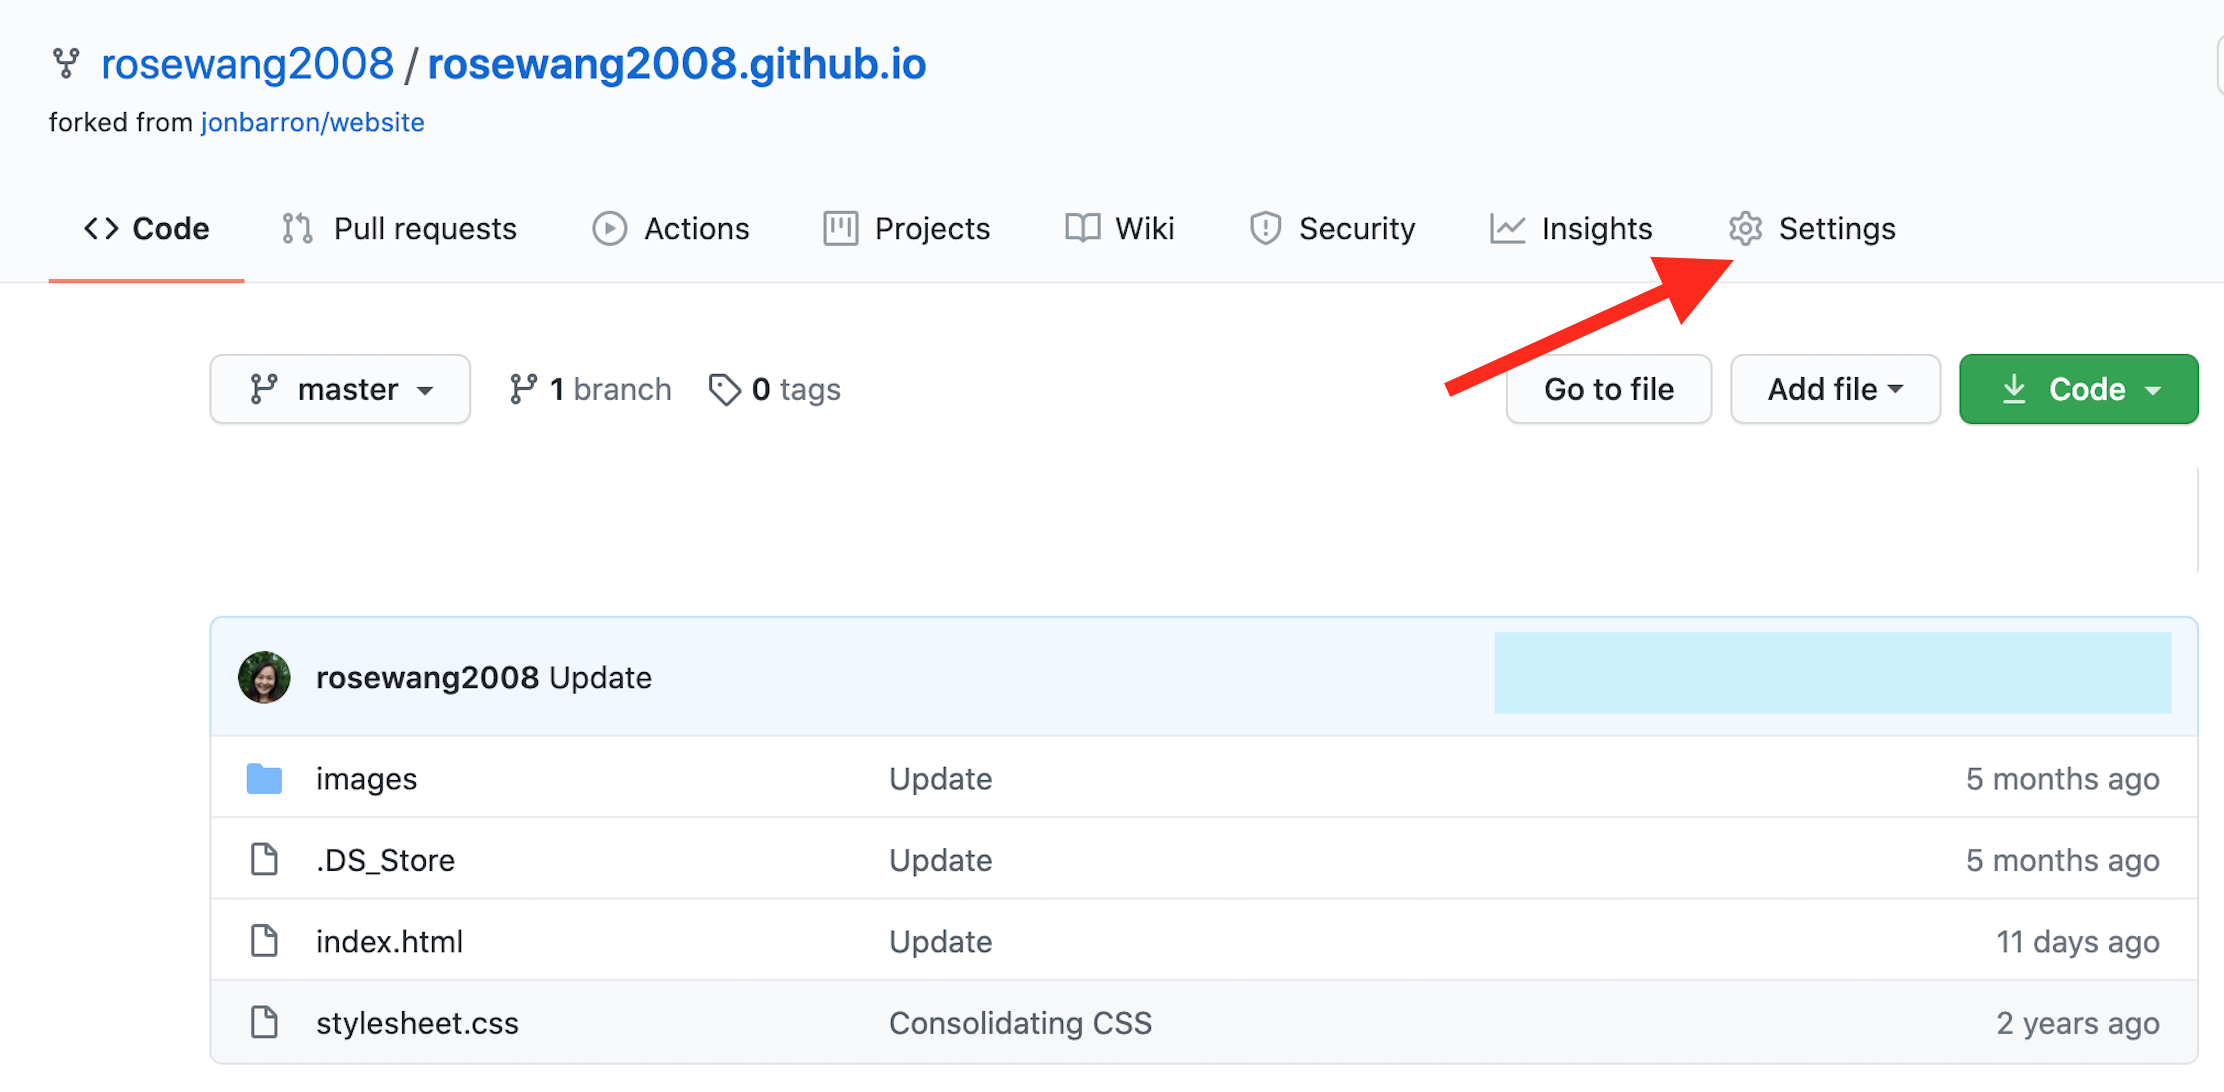
- Now, onto hosting your site at
<username>.github.io. Click on “Settings” on the top, right button.
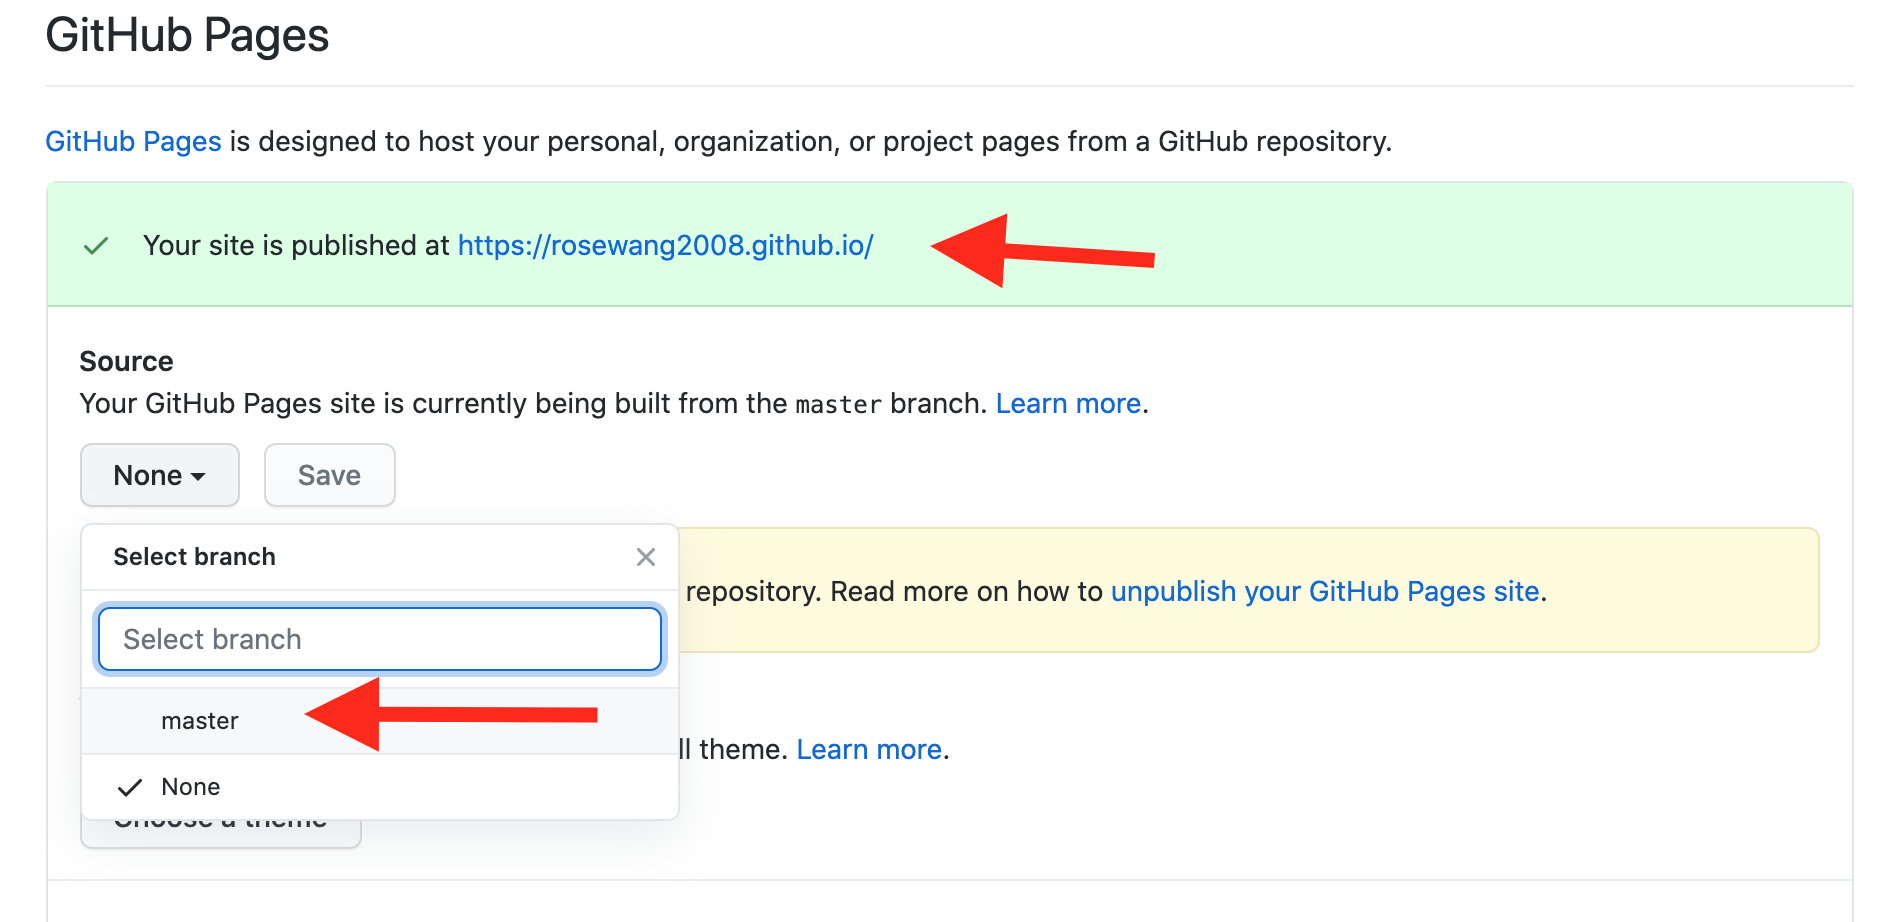
- On the Settings page, scroll down to Section “GitHub Pages”. Under “Source”, click on the master branch. This indicates which branch GitHub Pages should build your site from. Your site should now be published at
<username>.github.io!
Blog setup. I really like Andrej Karpathy’s blog which uses both Jekyll and GitHub pages. However, unlike Andrej who hosts his blog directly under <username>.github.io, I wanted to host mine under <username>.github.io/blog.
-
Create a new GitHub repository called
blog, clone it on your laptop, and go into the new cloned directory withcd blog. -
Run
jekyll new . --force. This initializes the Jekyll template code for creating your site. -
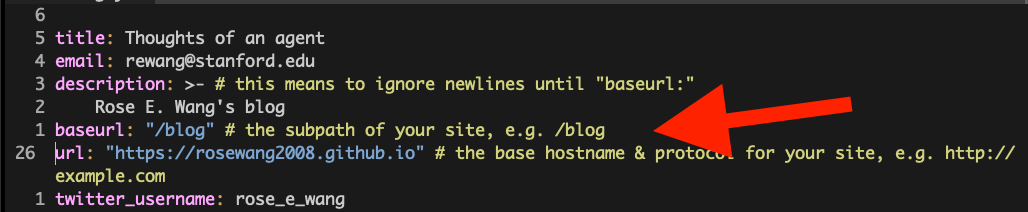
There are two important files that are created from above and that you need to edit in order for your blog to be hosted with GitHub pages. The first file is:
_config.yml. Editbaseurltobaseurl: “/blog”(your repository name), andurltourl: https://<username>.github.io.
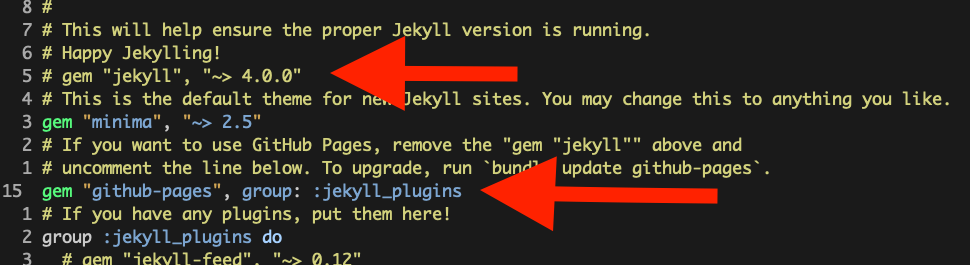
- The second file is
Gemfile. The file already gives instructions for what lines to edit, but for clarity, the end result should look like the picture below, i.e. the line with the first red arrow should be commented out, and the line with the second red arrow should NOT be commented out.
-
Add, commit and push your changes. Like in the website, all of your code should live on the master branch.
-
Now, onto deploying your code to
<username>.github.io/blog. This will be similar to steps 3 and 4 from Website Setup. Go to theblogrepository “Settings”, scroll to the section on GitHub Pages, and then select your source to be your master branch.
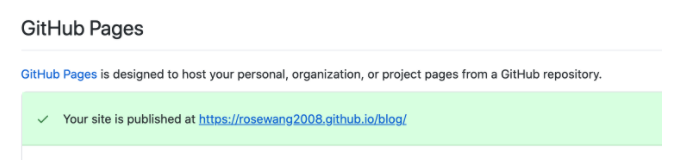
- You can now visit your site at
<username>.github.io/blog! FYI it may take a few minutes for your site to properly build.
Notes. I’ve read several blog-setup tutorials that suggest having your content in a separate branch called gh-pages. I found this to be unnecessary. I have my blog built directly from the main master branch.